Wichita & Sedgwick County, KS
New Roof Installation in Wichita: What to Expect
The trailer shows up before breakfast. By lunch, your old roof is in a dumpster in the driveway and the house sounds like a drum.
A roof installation is the work of putting a new roof on your house: tear-off, decking repairs, underlayment, flashing, vents, shingles and cleanup. Most Wichita installs take 1 to 3 days on the roof.
Below, you’ll see how a roof installation works day by day, what good work looks like up close, what happens if it rains, whether winter installs are fine, and which warranty and paperwork to demand. Want to price the job first? Use our roof replacement cost guide.
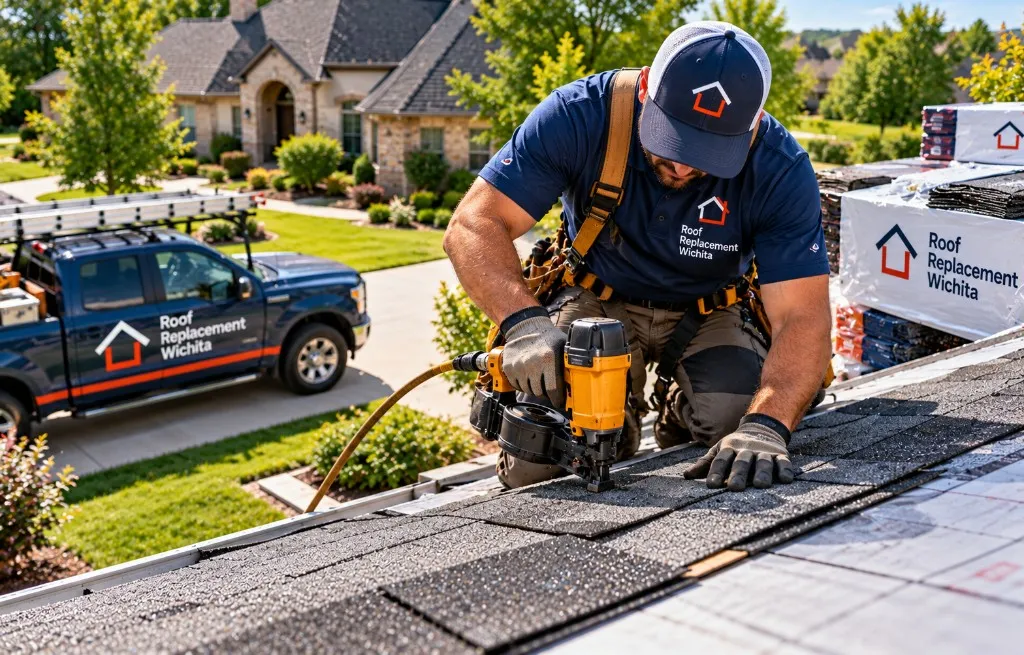
What’s included in a roof installation in Wichita?
A full roof installation in Wichita includes tear-off, decking repairs, underlayment, ice and water shield, drip edge, new flashing, vents, shingles and ridge cap, plus a city permit, cleanup and a final inspection. Anything missing from your contract is a question to ask before signing.
That list matches a full replacement, because on an existing home it’s the same job. For the parts in plain words and what each one costs, start with our roof replacement guide.
What changes from roofer to roofer is how carefully each step gets done. That’s what the rest of this page is about.
How does a roof installation work, day by day?
A typical roof installation runs 1 to 3 days on site. Day one is tear-off, decking repairs and dry-in, so the house is sealed by night. Day two is flashing, vents, shingles, ridge cap and cleanup. The city’s final inspection comes after.
Here’s the typical order:
- Before day one. Your roofer pulls the permit through MABCD and schedules delivery.
- Delivery. Shingles land on the roof or driveway a day or two ahead.
- Tear-off. Every old layer comes off, down to the decking.
- Decking check. Rotten boards get swapped. Ask to see them first.
- Dry-in. Underlayment and ice and water shield go down the same day.
- Flashing and vents. New metal at walls, chimneys, pipes and valleys. Vent openings get cut.
- Shingles and ridge cap. Courses go on from the eaves up.
- Cleanup. Haul-off and a magnet sweep of the yard, beds and driveway.
- Final inspection. MABCD signs off on the permit.
Plan on 1 to 3 weeks from signing to start, and longer after a major hailstorm.
How should you get your home ready?
A roof installation shakes the whole house. Prep takes an hour and saves headaches.
- Move cars out of the driveway and away from the house.
- Cover things stored in the attic; dust and nails come through.
- Take pictures and mirrors off the walls under the roof.
- Keep kids and pets inside or away for the day.
- Mark sprinkler heads and anything fragile in the flower beds.
What does a good roof installation look like?
A good roof installation has straight shingle lines, hidden nails on the field shingles, tight flashing at walls and chimneys, vent openings cut through the decking, and drip edge on every edge. Wavy rows or chimney gaps deserve a question before final payment.
Homeowners post this question most after an install: “New roof issues, or am I overreacting?” One homeowner noticed uneven lines. Another saw exposed nails near the ridge vent and chimney. And a second company, looking at a 3-month-old roof, found missing decking, gaps, exposed underlayment, and a roof vent installed without the hole cut underneath.
Use this table to check your own roof from the ground or from photos.
| Detail | Looks right | Red flag |
|---|---|---|
| Shingle rows | Straight, even lines from eave to ridge | Wavy rows or uneven steps between courses |
| Nails | Hidden under the course above | Nail heads showing on the flat field shingles |
| Flashing at walls and chimneys | Metal tucked under shingles, with counter-flashing on top | Caulk doing the job metal should do; visible gaps |
| Valleys | Clean lines, with ice and water shield underneath | Shingles ending ragged, or granules piling up |
| Vents | Open to the attic; you can see daylight or airflow from inside | A vent on the roof with solid decking under it |
| Drip edge | Metal trim along every edge | Bare wood edges, or shingles with no metal under them |
| Ridge cap | Straight, sealed, evenly spaced | Lifting or curling pieces |
| Yard | Clean, swept for nails | Nails in the driveway a week later |
Which exposed nails are normal?
On the main field of the roof, nails should be covered by the shingle above. You’ll see exposed fasteners at a few finishing spots, like the last ridge cap piece and the ends of flashing. Those should be sealed.
What if your new roof looks wrong?
Take photos from the ground and list what bothers you. Then ask the site lead to walk it with you before the final payment. If the answers don’t hold up, book an independent look. A good roof inspection comes with dated photos you can send back to the installer.
Pro Tip: Hold the final payment until you’ve walked the roof line with the site lead and have the permit final in hand. That’s a fair ask, and good installers expect it.
What happens if it rains during a roof installation?
If rain hits during a roof installation, the roof should already be dried in, because good installers seal it every night. Ask about the weather plan before signing and get it in writing: who stops work, who covers the house, who pays for water damage.
Here’s why it matters. One homeowner described a forecast downpour at the end of day one with the roof still open. Water got into the attic, the garage, the living room, and around the chimney.
Ask these three questions before you sign:
- Do you dry in the whole roof every night, no exceptions?
- Do you watch the forecast and hold off tear-off when rain is coming?
- Does your liability insurance cover interior damage during the job?
Can you install a new roof in winter?
Yes. Roof installation works in winter on dry days above the shingle maker’s minimum temperature. Cold shingles don’t self-seal right away, so good crews hand-seal them or plan around warm afternoons. Ice, snow and wind are the real limits, not the calendar.
Homeowners ask whether winter is cheaper, too. Roofers do have more open dates once the spring hail rush clears, and that can make scheduling easier. Price depends on the job, not the month, so compare quotes the same way you would in May.
Manufacturers set the limits. Owens Corning applies cold-weather procedures at or below 40°F, GAF requires hand-sealing in prolonged cold, and TAMKO says StormFighter FLEX installs down to 25°F.
Which roof warranty should you get?
You get two warranties with a new roof: the manufacturer’s warranty on the shingles and the roofer’s workmanship warranty on the installation. Get both in writing, register the manufacturer warranty in your name, and know which one covers leaks from bad installation.
| Warranty | Covers | Comes from | Watch for |
|---|---|---|---|
| Manufacturer (material) | Defects in the shingles themselves | The shingle maker | Registration deadlines; coverage that drops over time |
| Enhanced manufacturer | Materials plus part of the labor | Makers, through their certified installers | Only certified installers can offer it |
| Workmanship | Mistakes in how the roof was installed | Your roofer | Length, and whether the company will be around to honor it |
The difference matters when something goes wrong. One homeowner’s 2.5-year-old Class 4 roof lost ridge caps and a section of shingles in high wind. The first question was whether that was a product failure or an installation failure, and each one sends you to a different warranty.
Picking shingles? Compare impact-resistant lines in our guide to the best roof shingles for Wichita hail.
What paperwork should you get when the roof is done?
When a roof installation is done, get a final invoice that matches the contract, the passed city permit, the manufacturer warranty registered in your name, the workmanship warranty in writing, photos of replaced decking, and a lien waiver showing suppliers were paid.
Here’s the checklist:
- Final invoice that matches the written scope
- Permit final from MABCD
- Manufacturer warranty registration, in your name
- Workmanship warranty, signed
- Decking photos, if boards were replaced
- Lien waiver from the roofer
- Product details: shingle brand, line and color, for future repairs
Keep all of it with your house papers. You’ll want it for insurance claims, future repairs, and the day you sell.
How much does a new roof installation cost in Wichita?
A new asphalt roof installation in Wichita runs about $9,000 to $18,000 for a typical home, based on prices local roofers publish. Small roofs start near $5,600. Large, steep or metal roofs cost more. Your roof’s size in squares drives the number.
For the full breakdown by roof size and material, plus a quote checklist, see roof replacement cost in Wichita.
How do you choose a roof installer?
Choose a roof installer with a Kansas Attorney General roofing registration, a MABCD license, proof of insurance, a named site lead you can call, and a written weather and warranty policy. The crew on your roof matters more than the salesman who sold it.
A common complaint after installs is communication. One homeowner described a crew arriving at 5:30 am with nobody on site to answer questions, and workers pointing at phones to ask for materials.
Ask every installer:
- Is your crew in-house or subcontracted?
- Who’s the site lead, and what’s their number?
- What time will the crew start and finish each day?
- What’s your weather plan?
- How long is your workmanship warranty?
Look up any company in the Kansas AG Roofing Registration Directory before you sign.
What else do people ask about roof installation?
People ask what a new roof costs in Wichita, whether $30,000 is too much, how to price a 4,000 sq ft house, how long installation takes, whether they need to be home, and what the 25% rule means. Short answers to each are below.
Roof Installation FAQs
How much does a new roof cost in Wichita, KS?
About $9,000 to $18,000 for a typical asphalt shingle roof, based on published local pricing. Small homes start near $5,600; large or steep roofs run $18,000 and up.
Is $30,000 too much for a roof?
For a standard asphalt roof on a typical Wichita home, it sits at the top of published ranges: Rhoden Roofing lists up to $30,000, and the other Wichita roofers we checked stop at $18,000. It can be fair for a large or steep roof, metal, or heavy decking work. Ask for the line items.
How much does it cost to replace a roof on a 4,000 sq ft house?
Price it by the roof, not the house. At published local rates of $3.75 to $7.50 per square foot of roof installed, every 1,000 square feet of roof adds $3,750 to $7,500.
How long does a roof installation take?
One to 3 days on the roof for most homes. Allow 1 to 3 weeks from signing to start.
Do I need to be home during roof installation?
Not the whole time. Be reachable, leave the attic accessible if the crew needs it, and be there for the final walk-through.
Is roof installation loud?
Yes, especially tear-off on day one. Plan to be out of the house that morning if you work from home.
What is the 25% rule for roofing?
The 25% rule limits how much of a roof you can repair before the whole roof has to meet current code. It’s best known from Florida. Whether it applies in Wichita is a question for MABCD, the local building department.